Hello dolls and happy Monday! I hope everyone got a good start to their week!
So today I'm posting a "How to" on a fairly easy and dirt cheap French manicure!
I was helping my son with his school project that involved me using a glue gun. Needless to say my nails were looking like a hot mess afterwards, covered in paint and glue! Yuck! So, since I've been sick, it's hard for me to get out and actually go get my nails done, so I've taken it upon myself to paint them myself! I love DIYs!
Now by no means am I saying my nails look perfect but I am not a professional. This post is for those of you who may have some extra time on your hands or may be beginners with nail painting like I am OR maybe you just want to save your money lol!!!
Everything I used can be found at your local drugstore and isn't more than a few bucks per item! (I'll include photos of everything down below)
What you will need-
Base coat nail polish (optional)
White nail polish
A glossy top coat
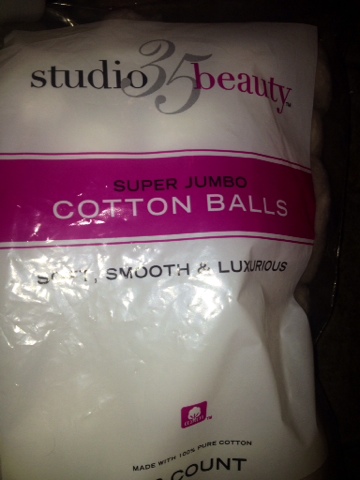
Cotton balls
Q-tips or cotton swabs
A round or flat eyeshadow or paint brush
Sally Hansen polish- retails for $2.79 at my local walgreens.
Kiss polish came inside of my trio pack from my last post.
So you will need to start off by cleaning your nails with a cotton ball and some polish remover, this is just to make sure no other polish or anything is left on your nails so you will get a smooth result.Once your nails are clean you can apply a base coat. Now this is optional- I didn't apply one.
If you choose to use a base coat make sure you allow it to dry for at least 5-10 mins.
Next step is the white tips. Now there are so many methods of doing a French mani- they make stickers you can use to guide you which is easier but I didn't have any on hand. So basically all I did was start from one corner of my nail and painted in an upward angled motion
Repeat this step on the other side of your nail You should be left with an upside down v like in the picture above.
Once you've done this all you do is just fill in the small area left right in the center of the tip of your nail.
I find this method was the easiest for me and I didn't make many mistakes. Just take your time and keep a steady hand.
Now if you do happen to make a mistake or you just want to clean up and shape your tip out to be more rounded you can use q-tips or the brush to clean and shape - make sure it's an old brush you don't need anymore. I got mine at target, it's just a dollar eyeshadow brush from E.L.F cosmetics.
All you do is pour some polish remover in a small plastic bowl or the cap of the bottle, dip your brush in and then glide it underneath where the polish is. You may need to push up on the polish to round it out also so just take the tip of the brush and gently push upward right beneath the polish until it's as rounded as you want, then glide the brush across very lightly to give it a seamless look.
Once you've completed all your nails on both hands let the white polish dry. I applied a second coat of the white but you don't have to...it's personal preference loves! Then you can apply your glossy top coat! Make sure you allow your nails to dry first! I can't stress this enough- if you start doing things with wet nails your risking all your hard work! Nobody likes looking at banged up, smudged nail polish- not cute!
This was so simple and easy! I suck at painting my nails but I think they turned out pretty nice for my first time!
P.s- if you have any suggestions or ideas for what you would like to see in the future feel free to let me know! I'm always open for suggestions :)
Until next time dolls...stay beautified and glamorized <3


